Progress Update
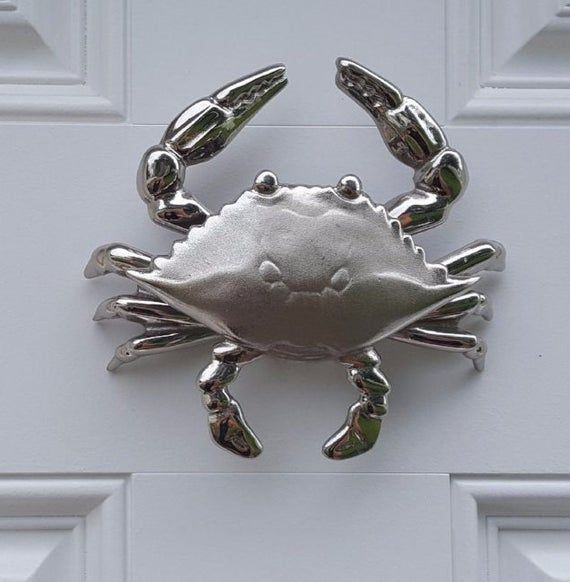
Achieved quite a lot recently. The crab went off on hoiday to get jetwashed. Doesn't look that amazing until you notice the carpetted floor on the drop-down (the bit at the front right) - it's blue. It wasn't that when I dropped it off, trust me!
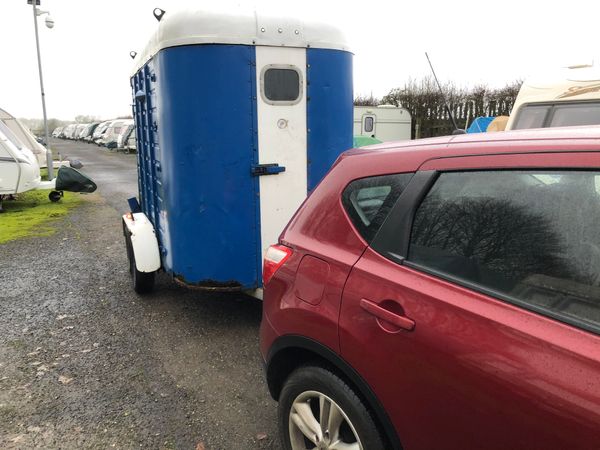
Then she went for another holiday and got those yacky rusty panels replaced. This involved me making up some angle brackets (with welding and everything) and then the contractor cutting out the existing ones, welding mine in, drilling out all the rivets and attaching my nice shiny new sheets of steel with new rivets. And yes, it was delivered back, bare steel and all, in the rain.
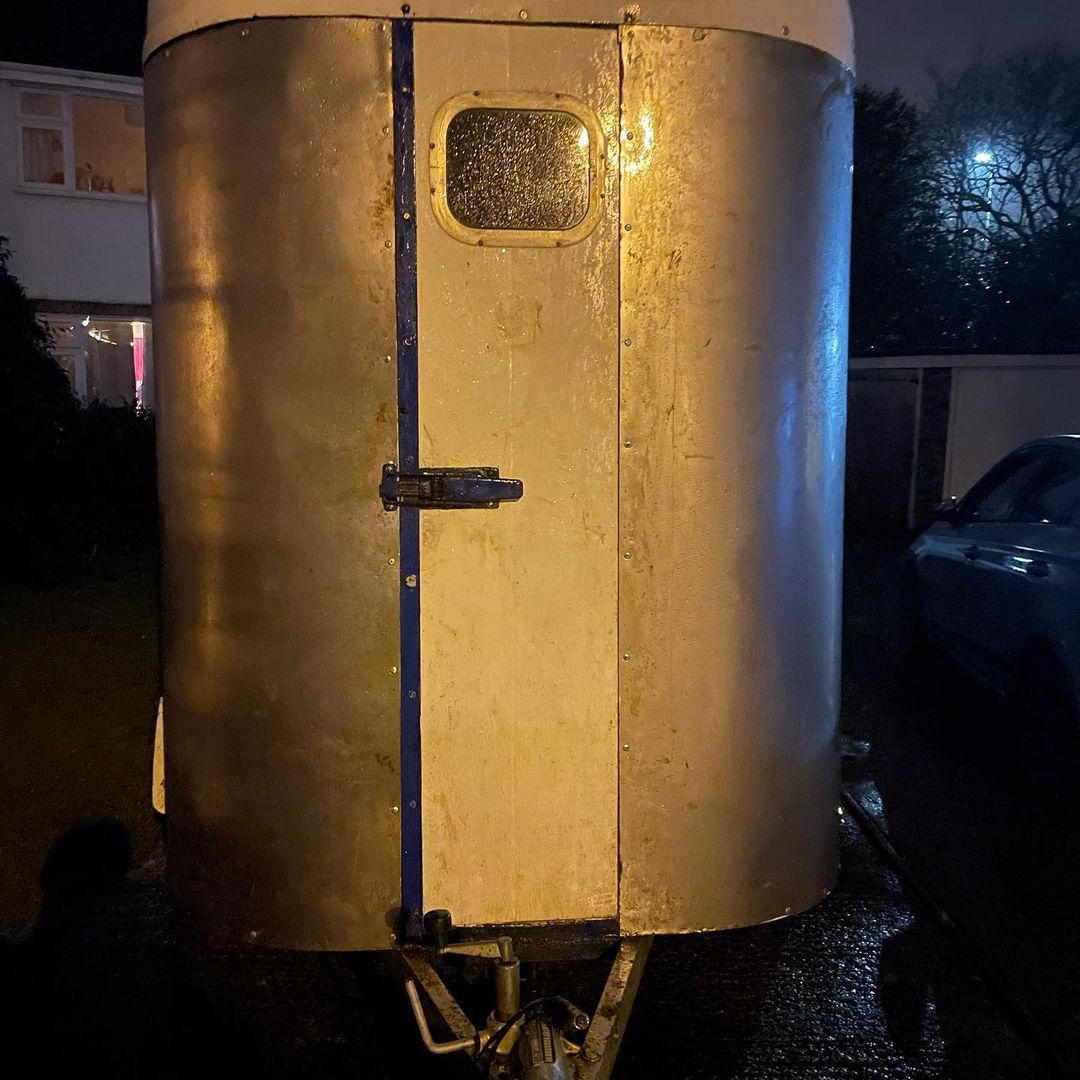
Then I had to get my wire brush out to remove the surface rust and paint that steel inside and out to stop it rusting back to death!

Not 100% happy with the drips, and a few bits have since scuffed. That dent annoys me and just won't quite pop out. But in person it's less noticable and the colour really pops in the sunshine.
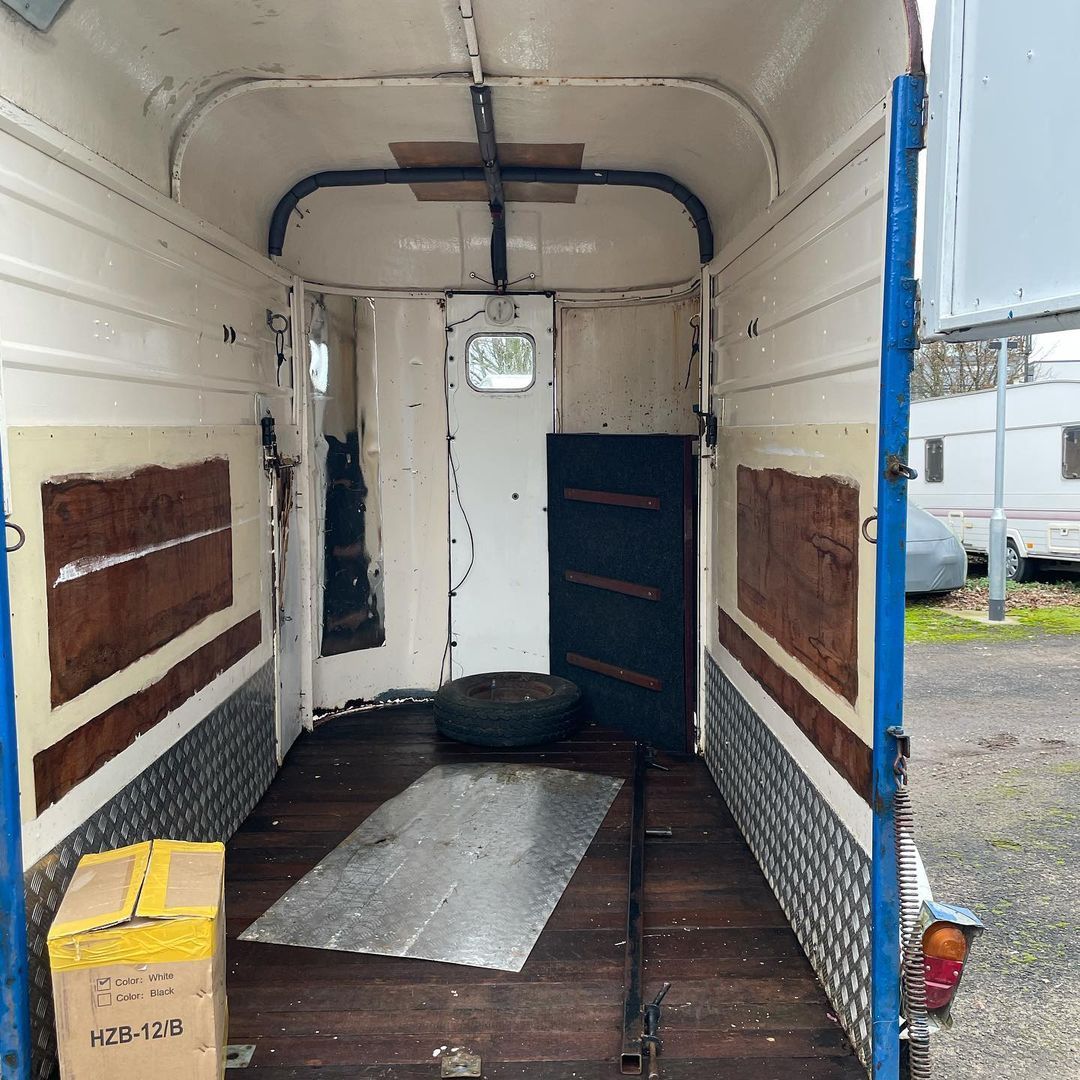
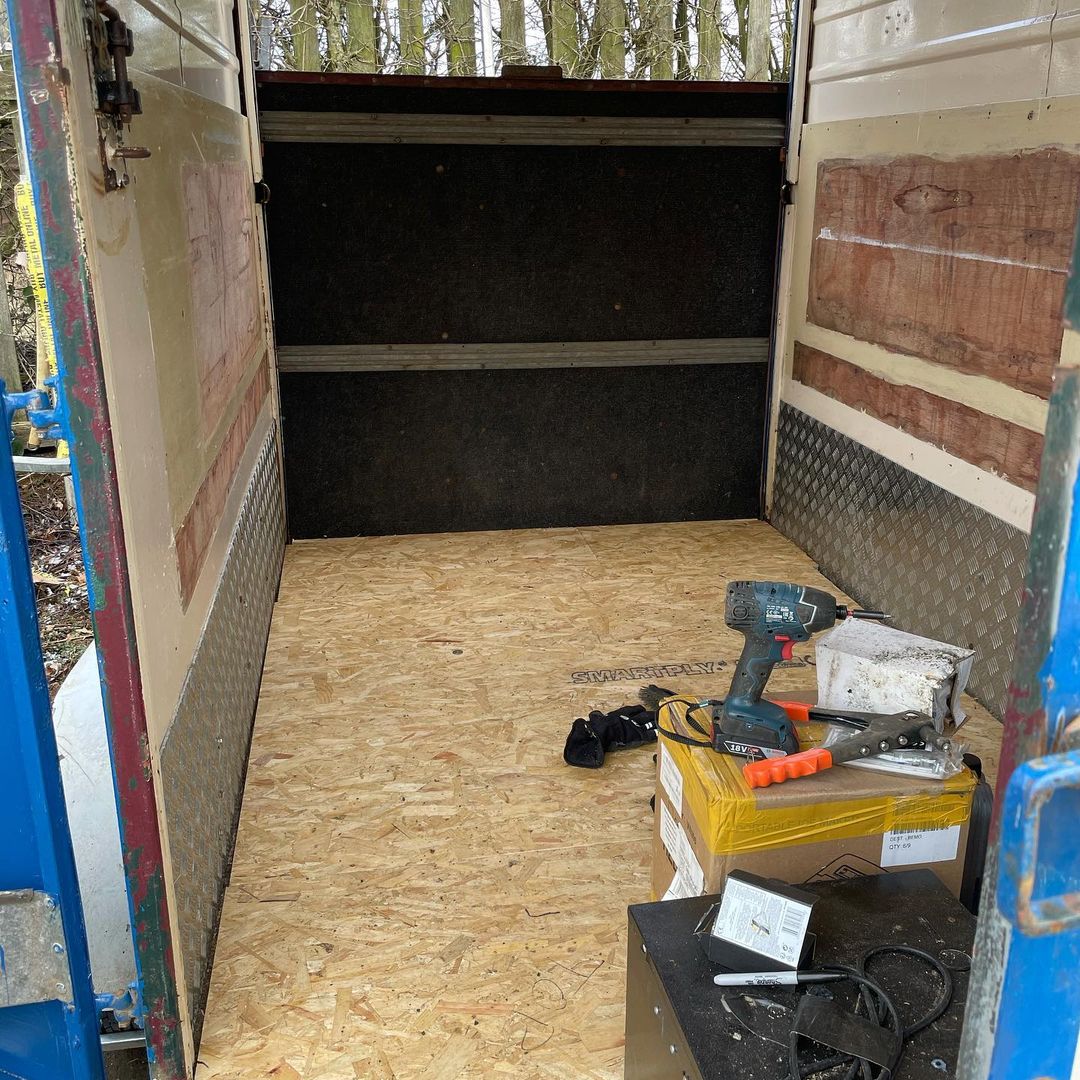
My unofficial, but highly useful assistant James then popped over and we floored the trailer. The wood was cut to size by Wickes but the actually fitting for the front shaped part was a lot of sawing - luckily the generator let us use a jigsaw for most of it but it was a lot of in, check, scribe, cut, repeat! Thankfully it didn't lose square too much so the rear sections slotted in with minimal trimming. Looks stonking and (briefly) was really clean. Must take a broom next time I go...
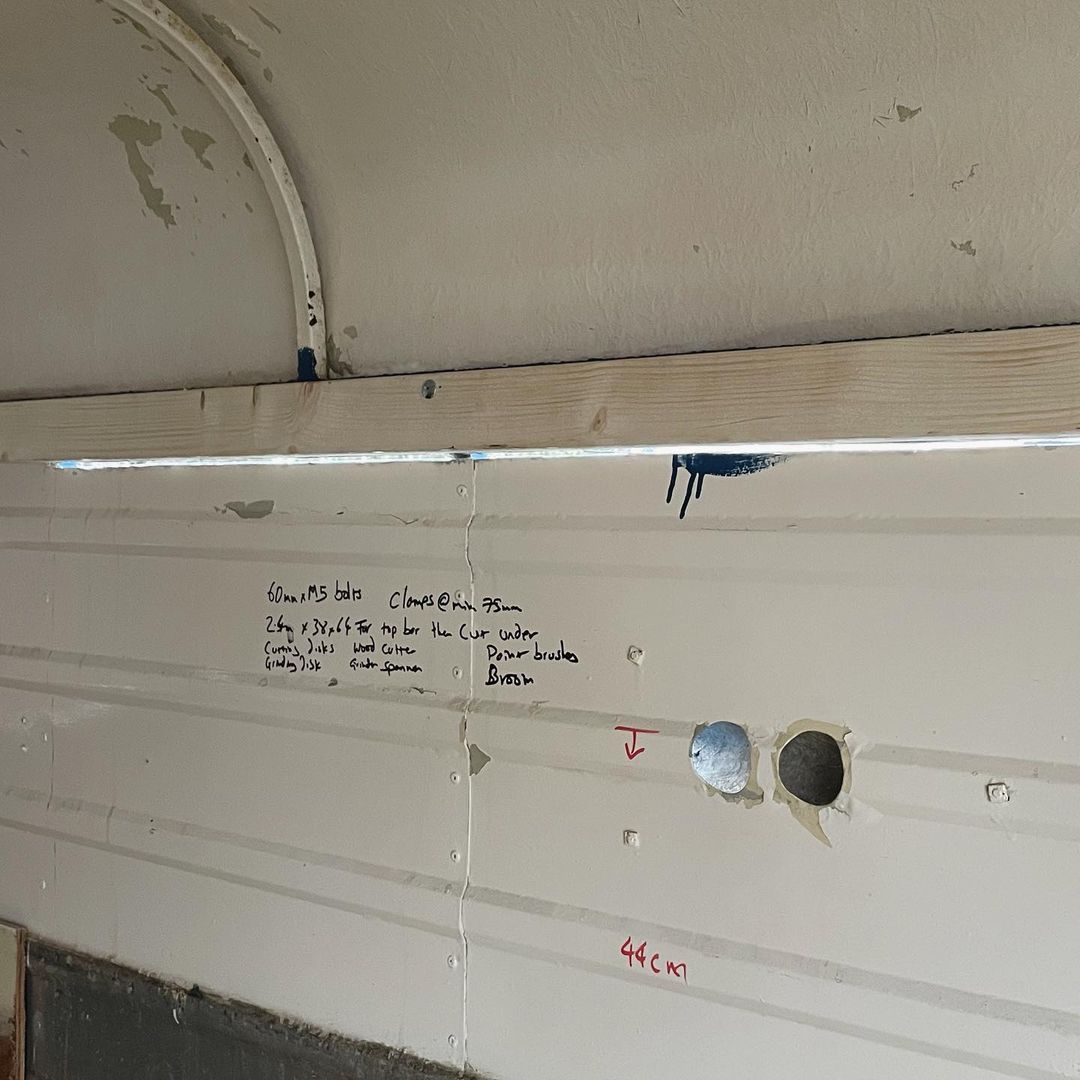
And the most recent job, which really felt like progress, was making the first cut for the hatch. No messing around here, the wood sides were ripped off with pry bar and a wood blade on an angle grinder. After much measuring and figuring out I identified the top angle (you can just see the lip above the wood) would hold a bit of 2x1 CLS just so. I had to cut off the roof bolts and repace with coach bolts. I got the ones with the clever square bits near the head and was able to do it one-manned. A cautious drill through just under the wood showed the bar was in just the right place for putting the top hinge on (yay). Some more measuring shows where the top of the worktop is going to go to fit the fridges underneath, be the right height for working on, and also not be too high for the customers outside.
The hope - and it is a hope - is the next weekends' work will have the main hatch cut and fit. Fingers crossed!
Update: The hope was foiled. It seems when I painted the doors I splashed some paint on the neighbour's tarpaulin. Neighbour got upset and complained to the owner of the storage facility, who has had to enforce the 'no major work' rule. Fair enough. He did say we can work on it in his yard area which is amazing of him, but as I took my car which doesn't have a tow bar no work could be concluded this weekend although a lot of planning did happen and we now have a relatively solid plan for the hatch cutting.